Best Soccer Cleats for Heel Pain in 2026
Last Updated on November 14, 2026 by
If you feel a dull ache or a sharp bruise-like pain in your heel after playing, the cleat is often part of the cause. The cleat does not always create the problem, but a hard heel area or a loose fit can turn a small irritation into something that bothers you every session. This guide shows you how to judge the parts of a cleat that touch your heel, then matches those checks to the kinds of cleats worth looking at.
It is written for players and for parents shopping for a player, and you do not need any technical background to use it.
Why your heels hurt in cleats (and when to see a professional instead of shopping)
Heel pain in cleats usually comes from one of two things: impact or movement. Impact means your heel lands hard, over and over, on a firm surface with very little cushioning between the bone and the ground. Movement means your heel slides up and down inside the cleat, which rubs the skin and the back of the foot with every stride.
A few cleat features make either problem worse:
- A thin or hard heel area with little padding
- A stiff back of the cleat that digs in at the Achilles or the sides of the heel
- A flat, hard plate under the heel with a thin insole on top
- A fit that is too loose, so the heel is never held in place
Shopping can fix those. It cannot fix everything, and it is worth being clear about where the line is. See a doctor or podiatrist if the pain lasts after a few days of rest, shows up with your first steps in the morning, comes with swelling, makes you limp, or wakes you at night. Parents should be especially alert if a growing child complains of heel pain after training, because heel pain is common in growing kids and a professional can tell you what is behind it. New cleats will not treat an injury that needs a diagnosis.
If your ache sits more in the arch than the heel, our guide to the best soccer cleats for flat feet covers that problem instead.
What to look for in a cleat if your heel is the problem
Run any cleat you are considering through five checks. Each one is something you can see on a product page, feel in a store, or confirm by reading reviews.
- Heel cup: the firm, curved structure that wraps the back of your heel.
- Padding: the soft lining around the heel and ankle opening.
- Insole: the removable or fixed layer your foot stands on.
- Stud plate under the heel: the sole, and how hard it feels through the insole.
- Lockdown: how well the laces and upper hold your heel in place.
A cleat does not need to be perfect at all five. A cleat with excellent lockdown and average padding can feel great, and an insole you can swap out can make up for a thin factory one. What you want to avoid is a cleat that is weak on several of them at once.
Heel cup, padding and insole: the parts that do the work
The heel cup
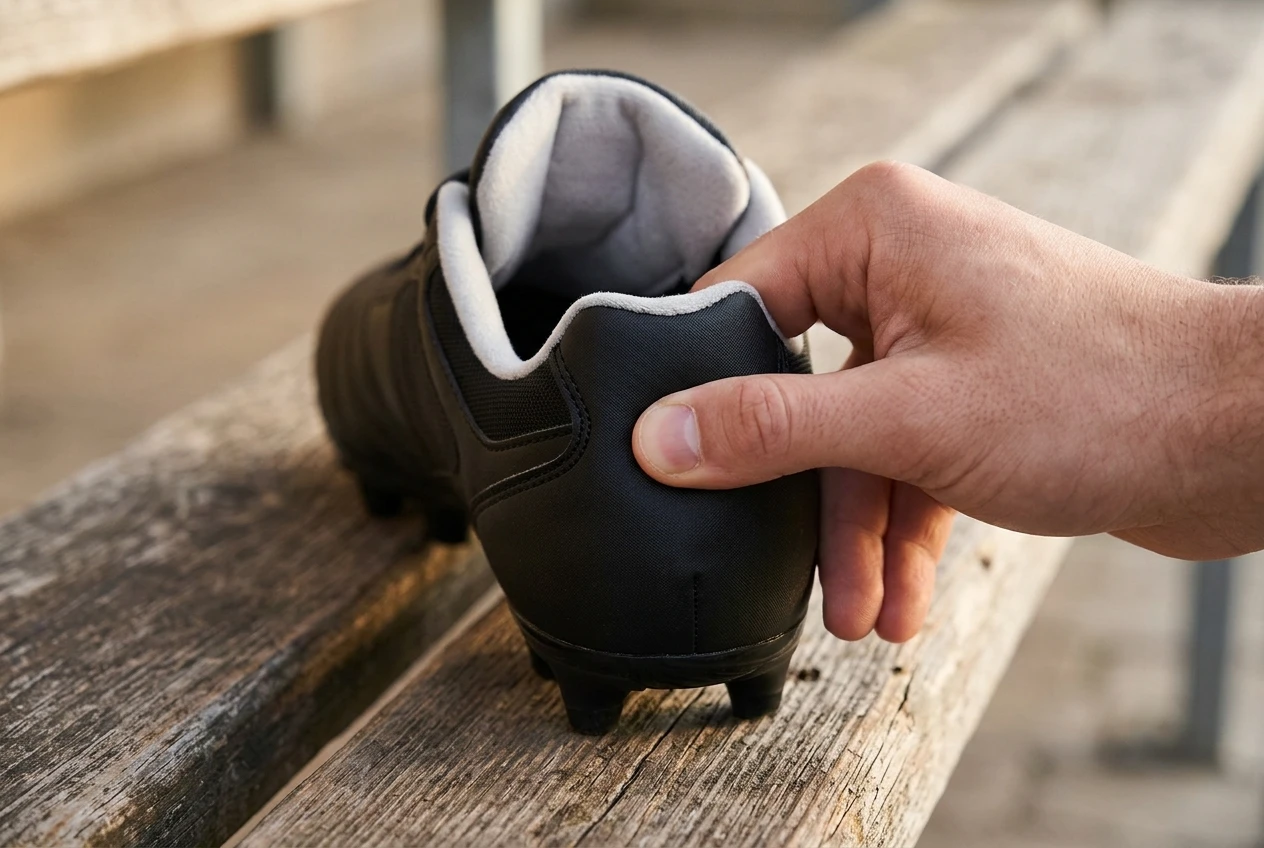
A good heel cup holds your heel in a stable spot so it cannot roll or slide. Press on the back of the cleat with your thumb. If it collapses flat, it will not hold anything. If it is rigid and sharp-edged, it can dig into your Achilles area. You want a cup that is firm enough to keep its shape and rounded enough to sit comfortably against your skin.
The padding
Padding sits between the heel cup and your foot. Look for a soft, even lining with no hard seams or stitching lines where your heel rests. Run a finger around the inside of the heel. If you feel a ridge, you will probably feel it after ninety minutes of play too.
The insole
The insole is the part most people ignore, and it matters most for impact pain. Many cleats ship with a thin insole that adds little cushioning. A thicker, softer one helps absorb the shock of your heel landing. Check whether the insole lifts out, because a removable insole lets you replace it with a better one later.
The plate under the heel
The stud plate is the hard base of the cleat that the studs attach to. You cannot change it, and you will feel it most on hard ground. A plate with a little flex and a decent insole above it is kinder to the heel than a stiff plate under a paper-thin insole.
Lockdown
Lockdown is how securely the cleat holds your foot. If your heel lifts when you push off, it will rub, and the rubbing causes blisters and soreness. Good lockdown comes from a snug heel cup, an upper that does not stretch loosely, and laces that pull the midfoot back toward the heel.
Our picks for heel comfort, matched to the kind of player you are
Cleat designs change from one release to the next, and heel padding is one of the details that gets adjusted. For that reason we match each kind of player to a type of cleat and a few product lines worth starting with, and we leave out claims about the exact amount of padding in any one version. Before you buy, apply the five checks above to the current model, using the product photos, the description and recent buyer reviews that mention the heel.
If you want the softest, most forgiving feel: look at the leather-focused lines such as the Adidas Copa, the Nike Tiempo and the Mizuno Morelia. Leather uppers tend to soften and mold to the foot, which can help the heel area settle in. If you are unsure whether leather suits you, our comparison of synthetic vs leather soccer cleats explains how each one wears and fits.
If you are a fast, light player: speed cleats such as the Nike Mercurial family are built for a snug, low-weight fit, and light uppers often mean less cushioning. If you love that style, plan to pair it with a better insole and check the heel cup carefully for lockdown.
If you want a balance of cushion and control: the Puma Future and similar all-round lines are worth trying on. Judge them on the five checks, since the heel experience varies between versions.
If you are shopping for a growing child: prioritize a snug heel and a soft insole over any brand name. For kids with broader feet, our list of the best soccer cleats for kids with wide feet is a useful starting point, and a child with ongoing heel pain should be seen by a professional before more shopping.
If you cannot try cleats on in person, order from a retailer with easy returns and test the fit on a clean indoor surface before you commit.
Turf, firm ground and soft ground: how the surface changes what your heel feels
The surface under your cleats changes how much impact your heel takes.
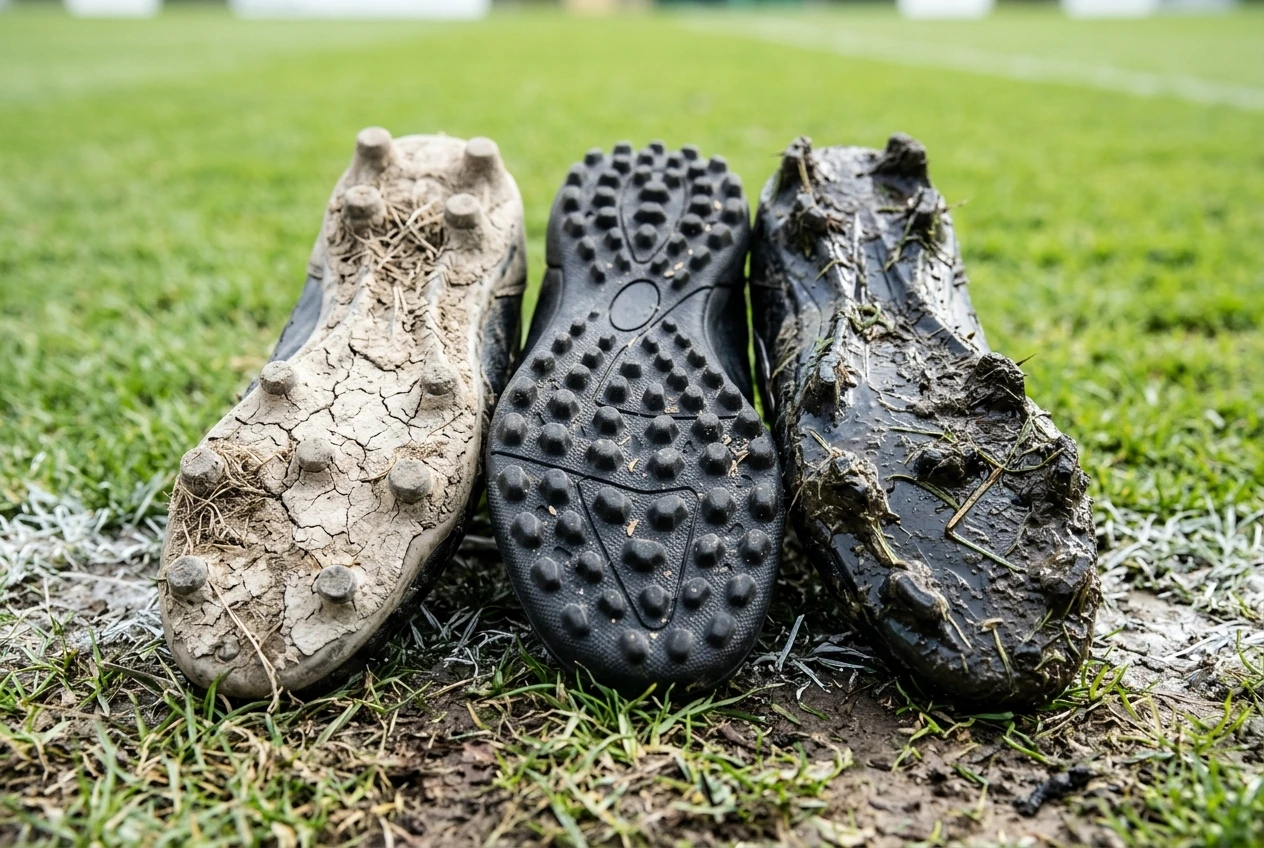
Firm ground is dry, hard natural grass. It has little give, so your heel feels more of every step. A cleat with a decent insole and a plate that flexes slightly helps here.
Artificial turf is hard in its own way, and it does not give the way soft grass does. Cleats made for turf usually have many shorter studs, which spread pressure more evenly across the sole. That can feel better on the heel than a firm-ground cleat worn on the same surface, and firm-ground cleats on turf often feel harsh. Our guide to cleats for turf vs natural grass goes into the differences.
Soft ground is wet, muddy grass. The surface absorbs more impact, so the heel gets a break, but the ground can pull at your foot and make a loose heel slip more. Lockdown matters most here.
If you play on more than one surface, a cleat that suits your main surface is the right priority, and a second pair for the other is worth considering if heel pain continues.
Fit mistakes that make heel pain worse, and how to avoid them
Most heel problems we see described come back to fit. These are the common mistakes:
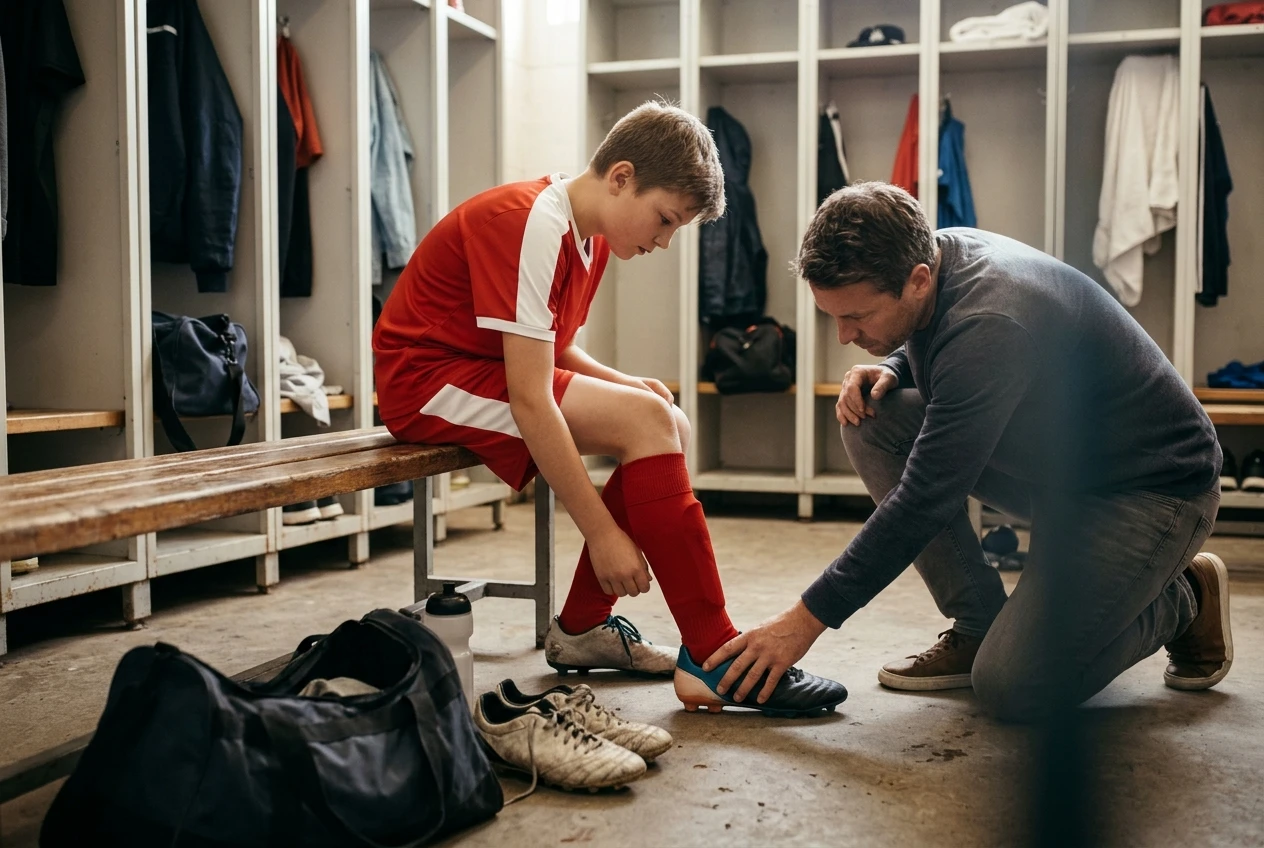
- Buying too big. A cleat with extra length lets your heel slide. Buying a size up for a child to grow into creates the same slip.
- Buying too small. A cramped cleat presses your heel against the back and the sides, which causes pressure points.
- Trusting your street shoe size. Cleat sizing differs from regular shoes, and our guide on soccer cleat size vs shoe size explains how to compare them.
- Trying them on with the wrong socks. Wear the socks you play in, since a thicker or thinner sock changes the fit of the heel.
- Trying them on first thing in the morning. Feet are usually a little larger later in the day, so try cleats on in the afternoon or evening.
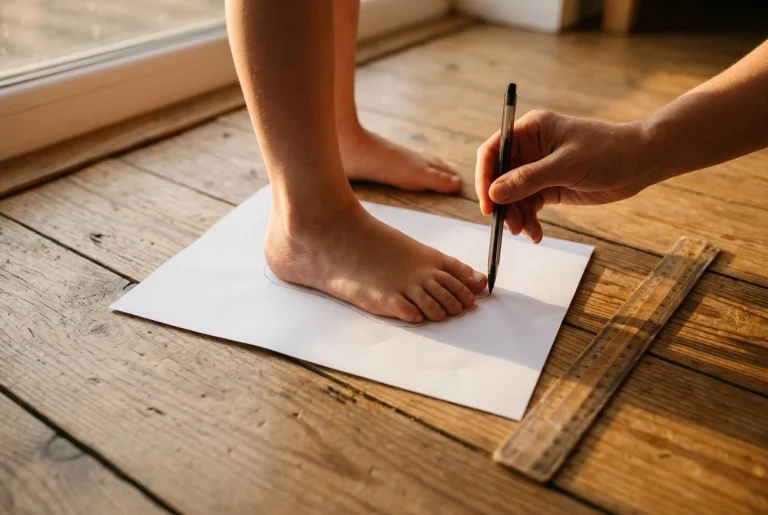
- Only testing standing still. Walk, jog on the spot and push off. If your heel lifts when you do, that cleat will rub on the pitch.
A properly fitted cleat feels snug at the heel, with room for your toes to move slightly and no pinching on the sides.
Easy extras that help: aftermarket insoles, lacing tweaks and a proper break-in
You can improve many cleats with small changes.
Aftermarket insoles. If the cleat has a removable insole, a cushioned replacement can add shock absorption under the heel. Pick a thin or medium one so it does not crowd the cleat, and re-check the fit with it inside. If you already see a professional, ask which type of insole suits you.
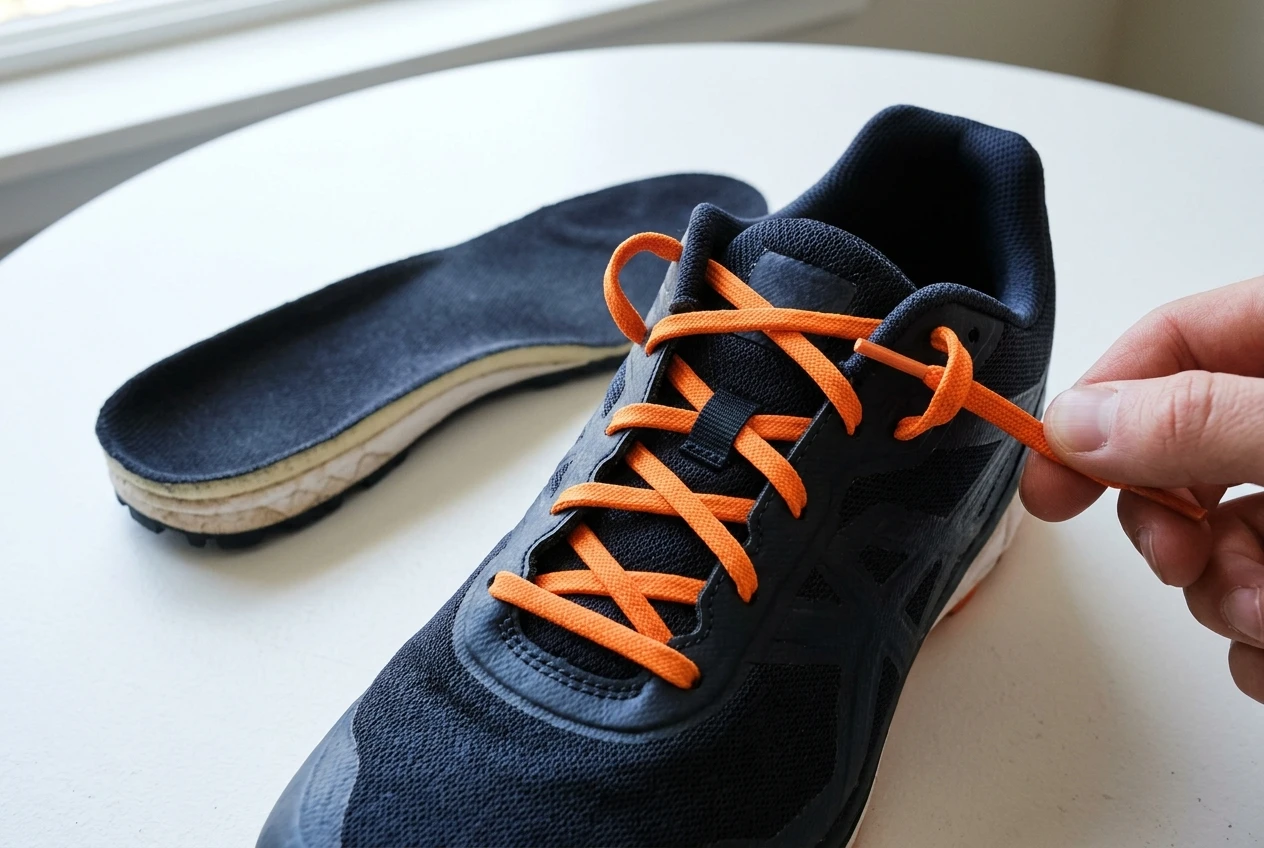
Lacing tweaks. A heel lock lacing method uses the top eyelets to pull the heel back into the cleat. Thread each lace through the extra top eyelet on the same side to form a small loop, then pass each lace through the loop on the opposite side before tying. This tightens the ankle opening and reduces heel lift without crushing the top of your foot.
A proper break-in. New cleats are stiffest at the heel and the back edges. Wear them around the house, then for short training sessions, before you ask them to last a full match. Rubbing in the first few sessions usually points to a spot that needs attention, such as a tight lacing pattern or a seam.
If the pain keeps coming back after the fit, insole and lacing changes, stop adjusting and have it looked at by a doctor or podiatrist.
Choose your cleat and get it broken in
Pick the cleat from the list that matches your heel needs and check current pricing and available sizes through the affiliate links, then read our guide on how to break in new soccer cleats before your first full match.