How to Look After Your Feet When You Play Soccer Every Week
Last Updated on November 15, 2026 by
If you play every week, your feet take a lot of repeated punishment: sprints, hard stops, quick turns and hundreds of small impacts in a snug pair of cleats. Most of the damage is small and can be prevented, but it adds up across a season. Good foot care for soccer players comes down to a few habits before, during and after each session, plus a short check once a week.
This guide covers blisters, black toenails and sore soles, then the cleat habits that keep problems from coming back. It also tells you when a problem needs a podiatrist or doctor instead of home care. It is general self-care advice and does not replace a medical opinion.
Why soccer is hard on your feet (and what that means for your routine)
Soccer combines running with constant changes of direction, and your feet do the braking and pushing for all of it. Studs concentrate your weight into small contact points under the ball of the foot and heel. Your toes are pushed toward the front of the cleat every time you stop. Feet also swell and sweat as a match goes on, so a cleat that felt fine in the car park can feel tight by the second half.
That is why a routine works better than fixing problems as they appear. Break it into four parts:
- Before play: trim your nails, put on clean dry socks, lace the cleats properly and cover any spot that usually rubs.
- During play: deal with hot spots at half-time, before they become blisters.
- After play: air out and dry your cleats, wash your feet and check them over.
- Once a week: look at your nails, the skin on your heels and soles, and the state of your cleats and insoles.
Each section below covers one of these in detail.
Blisters and hot spots: stopping them before the second half
A blister forms from friction, moisture and heat acting on the same patch of skin. The early warning is a hot spot, a warm, slightly sore area that has not yet raised into a bubble. If you stop and deal with it at that point, you usually avoid the blister altogether.
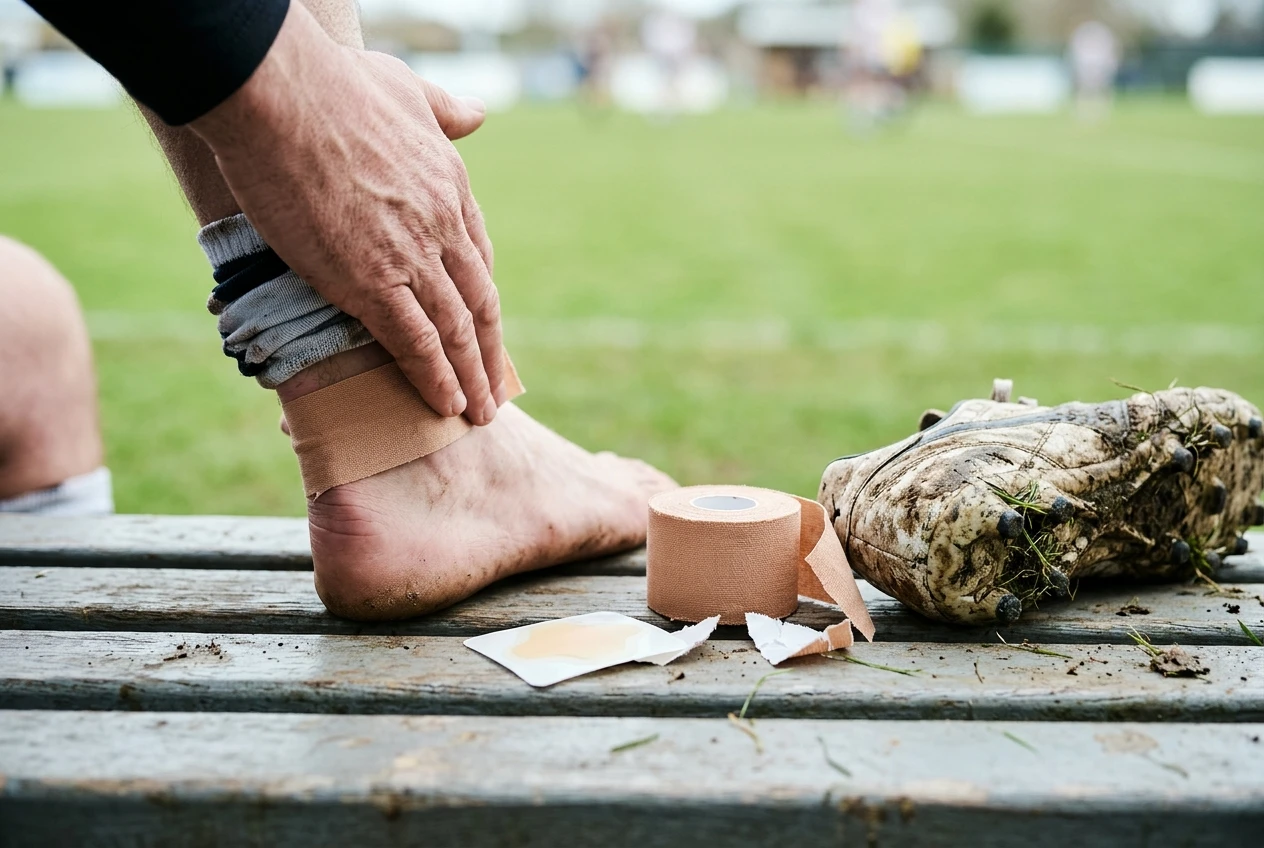
Prevent them:
- Start with dry feet and clean socks. Damp skin blisters faster than dry skin.
- Wear socks that fit snugly with no bunching at the heel or toes. A wrinkle in a sock is a friction point.
- Cover the places that always rub, such as the back of the heel, the side of the big toe or the little toe, with blister plasters or sports tape before you put your cleats on. Put the tape on dry skin and smooth out any creases.
- Break new cleats in gradually instead of wearing them for a full match on day one. Our guide on how to break in new soccer cleats walks through it.
During a match: if you feel a hot spot, deal with it at the next stoppage or at half-time. Take off the cleat, dry your foot and the inside of the cleat if you can, and cover the area with a plaster or tape. Change into a dry pair of socks if you brought a spare.
If a blister forms: a small, intact blister is best left alone and covered with a plaster, because the skin on top protects what is underneath. If it bursts, wash it gently with clean water, keep the skin flap in place if it is still attached, and cover it with a clean dressing. Do not peel off the skin. Spreading redness, increasing pain, warmth, pus or a fever are signs of infection and need medical attention.
Black toenails and toe jams: nail care and the fit check that matters
A black toenail is bruising under the nail. It happens when your toes repeatedly hit the front of the cleat, or when a nail is pressed against the top of the toe box, and it is common in sports with a lot of stopping and kicking. The cause is almost always one of three things: cleats that are too short, a foot that slides forward inside the cleat, or nails that are too long.
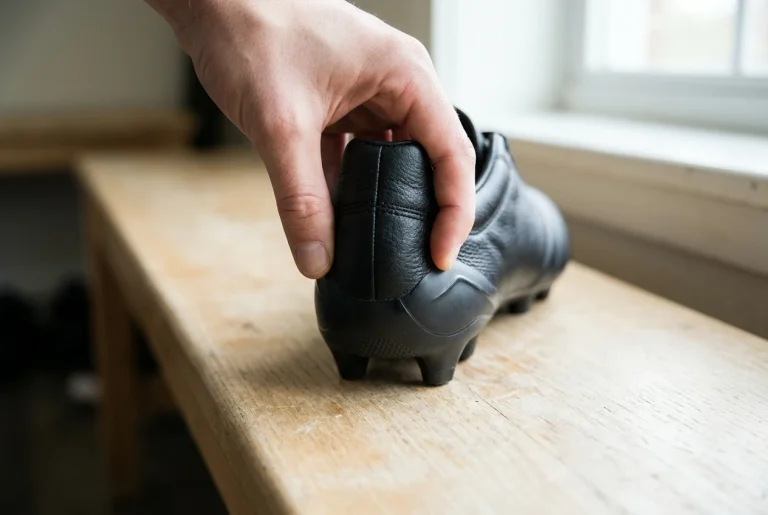
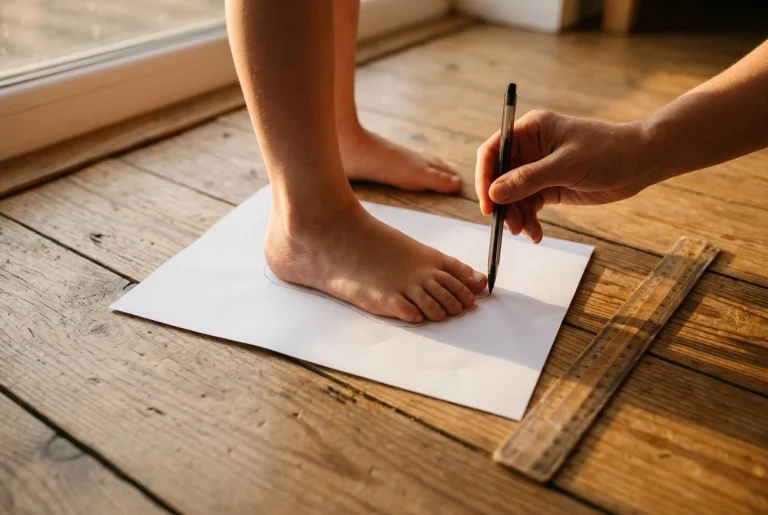
Do the fit check properly. Try cleats on in the afternoon or evening, when your feet are at their largest, and wear the socks you actually play in. Stand up and check that there is roughly a thumb’s width between your longest toe and the end of the cleat. Your toes should be able to lie flat without curling or being pressed from above. Kick the air a few times and jog on the spot to see whether your toes bang the front. Cleats are usually fitted a little snugger than everyday shoes for better feel on the ball, but snug should never mean jammed. If you are unsure how cleat sizing compares to your usual size, our piece on soccer cleat size vs shoe size explains the differences.
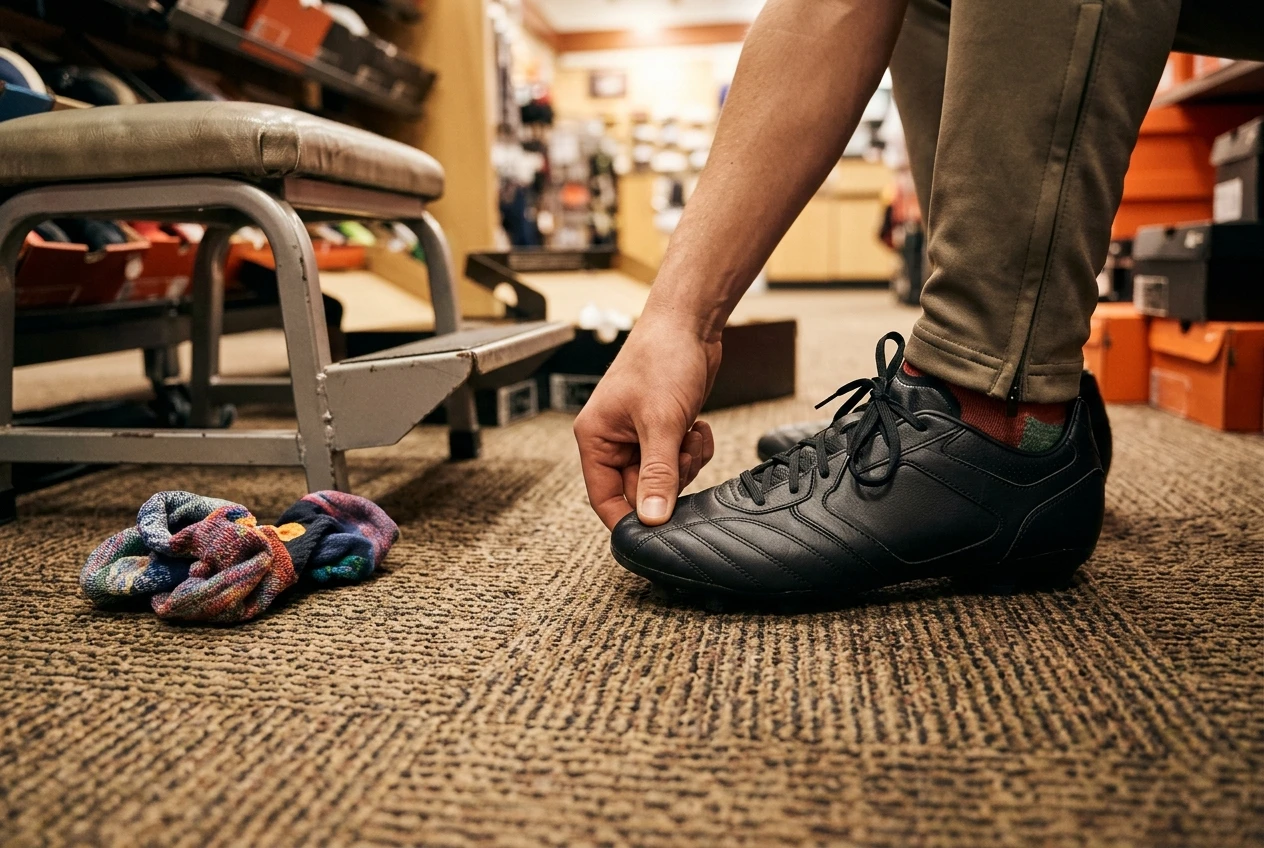
Look after your nails.
- Trim toenails straight across, short enough that they do not touch the end of the cleat, but not so short that you cut into the corners.
- File any sharp edges so they do not catch on your socks or the next toe.
- Trim them before the week’s first session instead of before the match you already know will be hard on your toes.
If you already have a black nail: do not pull it off. If it is not painful, leave it alone and keep it clean and dry. A new nail will grow underneath, and the old one will loosen when it is ready. If the nail is throbbing, feels very tight or is lifting with fluid underneath, have a doctor or podiatrist look at it. They can relieve the pressure safely and check that nothing else is wrong.
Socks, insoles and lacing: small changes that take pressure off
Three cheap changes cover most of the comfort problems that are not caused by the cleat itself.
Socks. Cotton holds moisture against the skin. Socks made from synthetic fibres or wool blends generally move moisture away better and are a sensible choice for matches. Pick a pair that fits your foot length without sagging, and keep a spare pair in your bag for after the match, since wet socks left on after the whistle keep your skin soft and easier to blister.
Insoles. The insole that comes in most cleats is thin. If your feet ache after play, a replacement insole with more cushioning or arch support can help, but it takes up room in the cleat. Take the original insole out, put the new one in and repeat the fit check, because an insole that squeezes your toes can cause the very problems you are trying to avoid.
Lacing. How you lace changes how your foot sits inside the cleat.
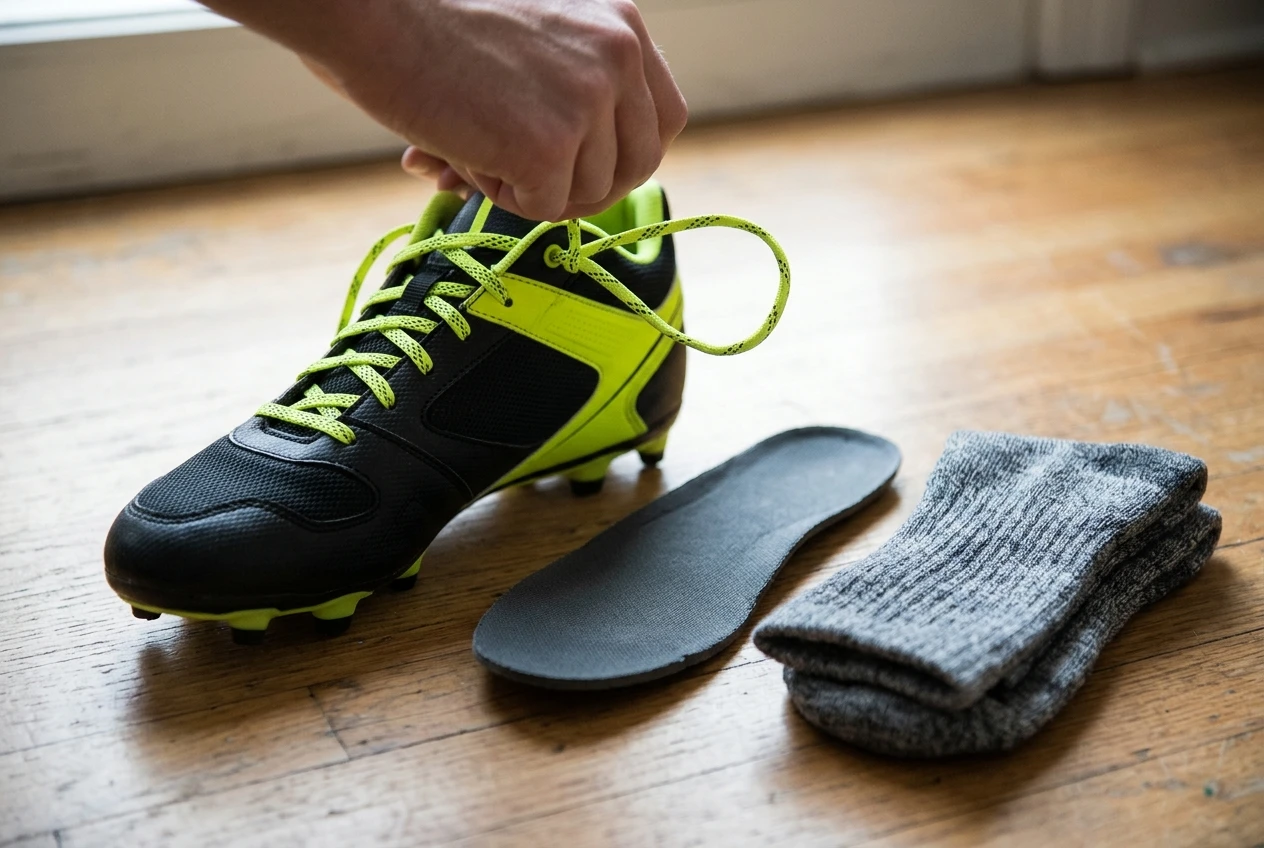
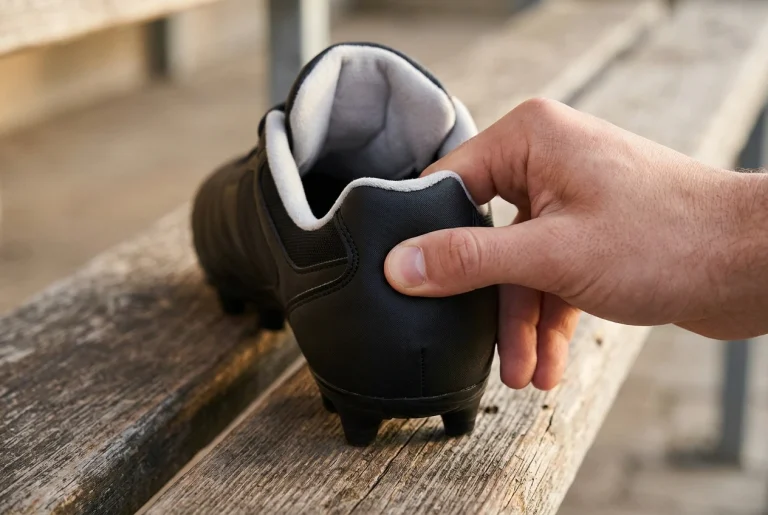
- Heel lock: use the extra top eyelet to make a loop on each side, thread the lace through it and pull tight. This holds your heel back and stops your foot sliding forward into the toe box.
- Pressure on the top of the foot: skip the eyelet over the sore spot, or loosen the laces there, so the lace does not press on the bones and tendons.
- Overall tightness: firm is good, but laces pulled very tight can cause numbness or pain across the top of the foot. If your toes tingle, loosen them.
Aching soles, heels and arches: what’s normal soreness and what’s not
Some soreness is expected. A dull ache in your soles or calves after a hard session, particularly after a break from playing or on a firmer surface, usually fades within a day or two. Rest, a cool shower and some gentle stretching generally help.
Simple self-care for that kind of ache:
- Stretch your calves and the bottoms of your feet after you finish playing.
- Roll the sole of your foot over a ball for a minute or two.
- Raise your feet when you can, and ice a specific sore spot for short periods.
- Increase playing and training time gradually after a layoff.
Signs that something else is going on:
- Sharp heel pain, especially with the first steps in the morning.
- Pain in one spot of a bone that gets worse with impact and does not ease with rest.
- Swelling, numbness or pain that wakes you at night.
- An ache that returns every session at the same place.
Sometimes the cleat is the cause. The stud plate, the shape of the footbed and the amount of padding all affect where your weight lands. If the pain matches a particular foot shape, these guides cover cleat choice in more detail:
- Heel pain: best soccer cleats for heel pain
- Low arches: best soccer cleats for flat feet
- Midfoot aching: best soccer cleats for high arches
After the final whistle: cleaning, drying and rotating your cleats
What you do in the ten minutes after a match matters for both your feet and your cleats. Damp, dirty cleats grow bacteria and develop odour, and they rub differently the next time you wear them.
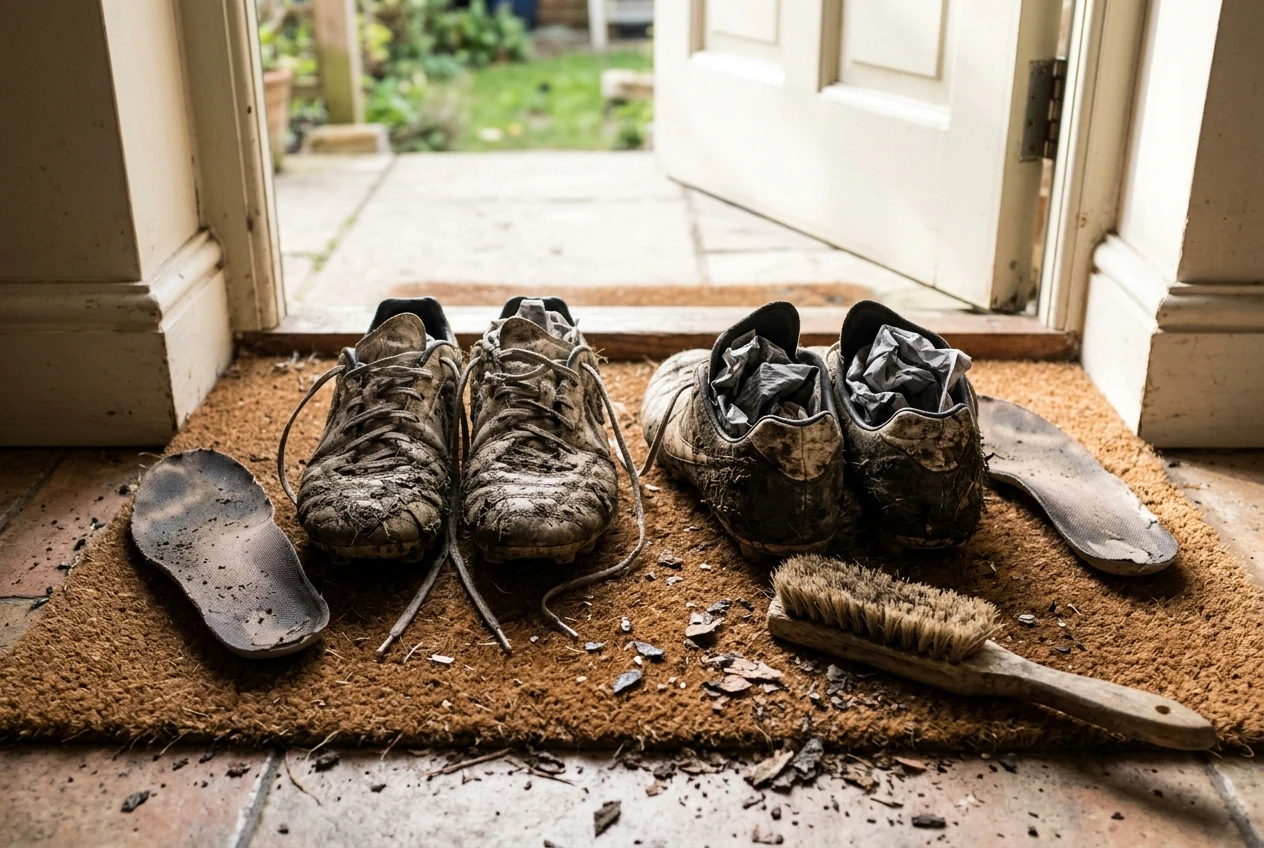
- Take them off straight away and loosen the laces fully. Pull out the insoles so both parts can dry.
- Knock off loose mud and wipe the upper with a damp cloth. Scrub the outsole with a brush if it is clogged.
- Dry them at room temperature. Stuffing them loosely with newspaper helps absorb moisture. Keep them away from radiators, heaters and direct sun, because strong heat can warp the material and weaken the glue.
- Do not leave them in the bag. A closed bag with damp cleats is the quickest way to get a smell and a mouldy lining.
- Rotate if you can. If you play or train more than once a week, two pairs let each pair dry fully between sessions. Different materials also behave differently as they wear, which we cover in synthetic vs leather soccer cleats.
For your feet, wash and dry them thoroughly, including between the toes, and wash your socks after every session. A light moisturiser on dry heels helps stop cracking, but keep it off the skin between your toes, where extra moisture encourages fungal infections. Then take a minute to look over each foot for hot spots, blisters, nail changes or cuts. This is the weekly check at its simplest.
Wet pitches, turf and hard ground: adjusting your care to the surface
Different surfaces stress your feet in different ways, and your routine can change with them.
Wet grass. Your socks and cleats stay damp for the whole match, so blisters are more likely. Cover known rub spots before you start, pack at least one spare pair of socks and take extra care drying your cleats afterwards. Leather uppers can also stretch when wet, which changes how they fit.
Artificial turf. Studs grip well, which can put more twisting load through your feet and ankles. The surface is also abrasive on bare skin. If your feet feel sore after turf sessions, check that you are wearing cleats made for that surface, as the right outsole spreads pressure better. Our guide to best cleats for turf vs natural grass covers how to choose.
Hard, dry ground. There is less give underfoot, so your heels and soles absorb more of each step. A cushioned insole can help, and gradually building up your playing time matters more on a firm pitch than on a soft one. If your heels ache repeatedly after hard-ground matches, treat it as a signal to change something instead of playing through it.
When to stop self-treating and see a podiatrist
Home care covers most of what soccer does to feet. These are the situations where it is time to book an appointment with a podiatrist or doctor:
- Signs of infection: spreading redness, warmth, swelling, pus, red streaks or a fever, particularly around a blister, cut or nail.
- Nail problems: a very painful black nail, a nail that is lifting or leaking fluid, or an ingrown nail that keeps coming back.
- Pain that does not settle: heel or arch pain that stays after rest and gentle care, returns every session, or is sharp and focused on one spot of bone.
- Pain that suggests an injury: swelling, difficulty putting weight on the foot or pain at night.
- Numbness or tingling that continues after you loosen your laces or take your cleats off.
- Any foot wound if you have diabetes or a circulation problem. Do not wait on these.
- Heel pain in a growing child. If you are a parent, it is worth having it checked before it becomes a habit to play through it.
A professional can also assess your foot shape and gait and tell you whether an orthotic would help, which is more reliable than guessing from the shelf in a shop.
Once your feet are in good shape, read our guide on how to pick soccer cleats to find a pair that fits them properly.